Optimus Prime
Lego Mosaic
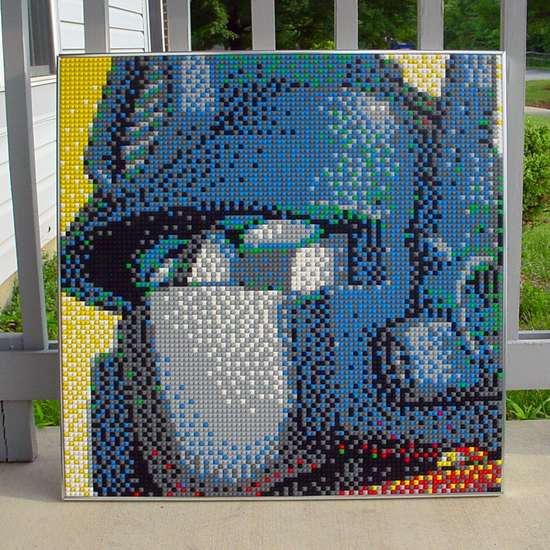
Here’s some detail on my Optimus Prime Lego mosaic. I stole this from someone on the internet.
Starting Image
So, this is the first mosaic that I designed and I can tell every time that I look at it. I used this image that I found on the internet to create my pattern. If you look at my rant about my Yuna 2 mosaic, I talk about customizing a pattern and NOT using a computer to make one for you. This is why. It generates a final image with these random dots and no real clean lines.
I bet the guy took a screen shot of the Transformers cartoon and put it into PhotoShop or something and scaled it to this size. As a result, it looks like crap. If you took that same image and manually made the pattern, it would look clean and organized.
I keep this built like this to remind myself to make things my own, or at least copy people that don’t use crap like this.

Importing into MLCad 1
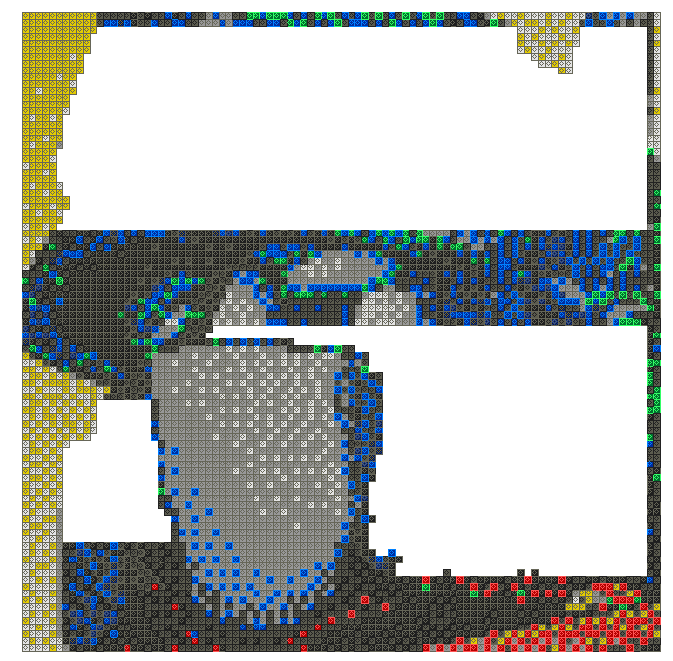
Here’s part of my importation process. I would do colors, sections, get bored and do lines, etc. This was my first one AND my first attempt at MLCad, so I was still figuring things out.
I just zoomed into the picture above and copied it, brick by brick.

Importing to MLCad 2
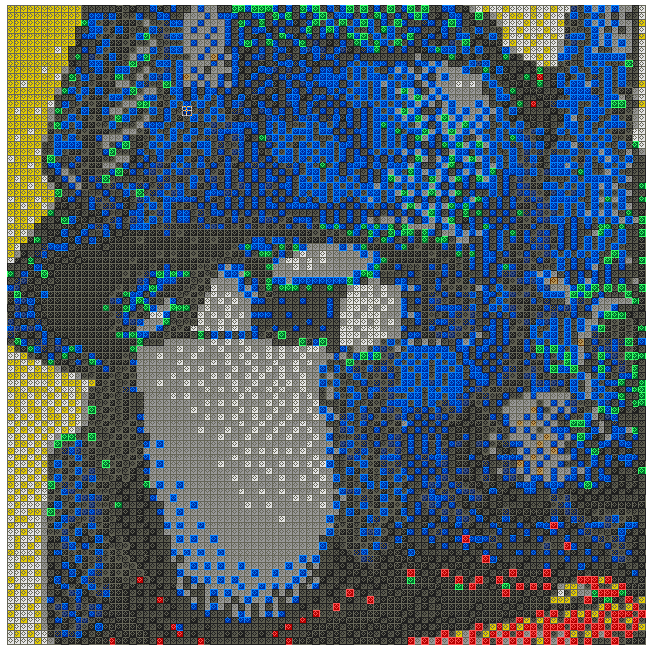
Here’s the final image. I chose to keep this one 1×1 bricks because of the afore mentioned computer regression. It would have looked weird with both dots and bricks.
Some important info. I built this pattern in November of 2008 and built the model in October 2009 or so. It is 9,216 pieces/studs. It is 2′-6″ (76.2 cm) square.

Final Product
Here’s a YouTube review I did of the final product. I’m happy with it and, being my first, pretty much welded it to the wall. It also taught me how to mount the baseplates. Don’t squish the base of the baseplates together when mounting. Connect 2 plates with bricks and lay it down using them for spacers. It will space it out nicely. There will be a little gap. Mind the gap. Even in the thumbnail you can see the gaps between baseplates because of this mistake.